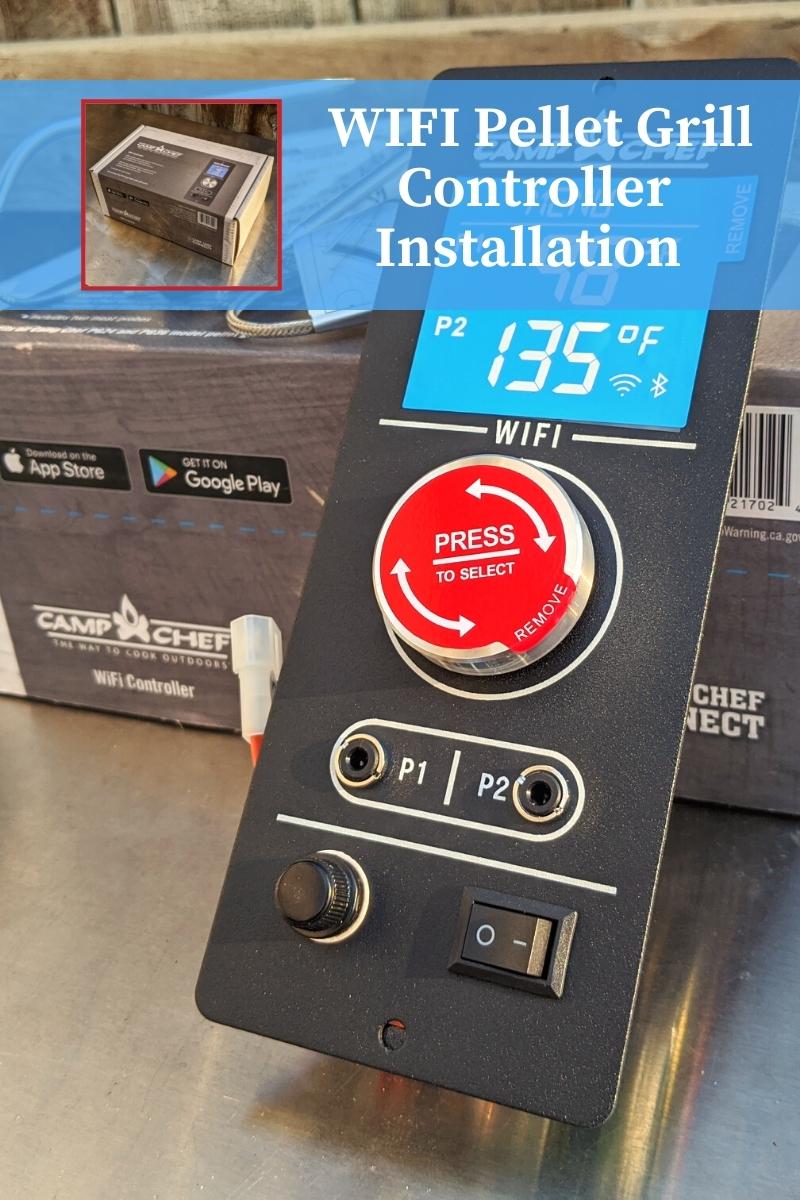
The new Camp Chef WIFI Controller installation is more straightforward than expected. Camp Chef has a way to bring your existing pellet grill up to date with a generation 2 WIFI controller. It’s pretty easy to install and brings a lot of features to your grill that you didn’t have before.
Features
Here are the features you’ll gain or keep by upgrading:
- Temp and Smoke Control over WIFI and Bluetooth
- Set consistent temperatures that are +/- 5ºF
- Camp Chef Connect App compatible (IOS and Android)
- Adjustable smoke settings that go from 1-10
- Easy to use menu dial
- High-visibility, low-glare digital display
- Includes everything you need to install
- Includes 2 meat probes

Simply put, You’ll now be able to control and monitor your grill from anywhere in your home. You can’t start the grill with the app, but you can do just about anything else.
You’ll be reminded to close the lid after the startup has completed. You’ll then get notified when your grill has reached your desired temperature. On top of that, I mainly use it to keep an eye on my grill’s internal temperature and the internal temp of my meat.
As of this date, you will see that the controller is rated 3.1 stars on the Camp Chef website. It seems that much of the lower ratings come from connectivity issues. I also find that I lose connection regularly. It’s far from perfect, but it is adequate. At least it’s an improvement from the old controller.
Steps for Installation
1 – Unplug the grill
This should go without saying but make sure you unplug the smoker before moving forward.
2 – Remove Bottom Panel

To remove the panel located underneath the controller, remove four screws—1 in the front, two on the side, and 1 in the back.
Let the panel sit on the ground or off to the side and keep the screws in a safe place.
You can now come up from the bottom and cut the zip tie holding the cables together, or you can do it after removing the controller in the next step.
3 – Remove Controller Panel

Unscrew the two screws on the controller’s front to pull it away from the grill.
4 – Cut the Zip Tie
Now look for the collection of wires being held together by a zip tie. Carefully cut it without cutting any of the cables.
5 – Unfasten and Unclip Cables

Now you can unclip and remove all cords attached to the controller—no need to keep track of any cables at this time since they are labeled.
Now you can discard your old controller and grab your new WIFI controller.
6 – Connect New WIFI Controller
Now it’s time to connect your new WIFI controller. To do this, reconnect the wires to match the cords to the corresponding letters—a to A, B to B, and C to C. There’s an unlabeled cord that will connect to an unlabeled cable.
7 – Connect Internal Temp Probe
A thin cord with a small connection will connect to your controller. I found that they don’t give you enough length to connect it. Just pull on the cable to provide yourself with enough room to connect it to the controller.
8 – Attach New WIFI Controller
Now screw the new WIFI controller to your hopper with the two screws that connect your old controller.
9 – Zip Tie the Cords
From underneath the grill, use the included zip tie to bundle the cords together as best you can—no need to be perfect. You want to keep them together so they won’t get caught in the fans.

10 – Replace Bottom Panel
Like you did removing the bottom panel, replace it using the same four screws.
Now you’re all done! Contact Camp Chef support if you have any issues. They are friendly and helpful when it comes to helping their customers.
Bon Appétit!
Head over to Camp Chef to buy the controller!
Want to eat the best spare ribs on your pellet grill? Head over to read the full instructions of Heath Riles Competition St. Louis Ribs!
If you’re wondering how to store your bags of wood pellets, read my article on how to properly keep your smoking wood pellets, so they stay dry and don’t harm your pellet grill.
Below is a Pinterest friendly photo…. so you can pin it to your Smoking Food Board!!


![Personalized Science T-Shirt, [NAME] Eats Bacon Periodically, Science Gift For Teachers, Gift For Dad](https://i.etsystatic.com/39088648/c/677/537/250/479/il/81da41/5524136388/il_170x135.5524136388_ejht.jpg)
![Personalized Funny BBQ Gift T-Shirt, [NAME] Likes To Smoke Food It Gives Him A Reason To Play With Fire, Gift For Men, Gift For Dad](https://i.etsystatic.com/39088648/c/715/567/310/398/il/df3b57/5524134348/il_170x135.5524134348_l4vh.jpg)
![Personalized Funny BBQ Gift T-Shirt, [NAME]'s Addicted To Smoking, Gift For Men, Gift For Dad](https://i.etsystatic.com/39088648/c/2439/1936/280/348/il/5f3210/5847494344/il_170x135.5847494344_h7o5.jpg)
![Personalized Option Funny BBQ Gift T-Shirt, Don't Worry I Got This I Watched A YouTube Video, Quite by [NAME] Gift For Men, Gift For Dad](https://i.etsystatic.com/39088648/c/1451/1152/714/207/il/eecec9/5524515802/il_170x135.5524515802_qbvj.jpg)


![Personalized Funny BBQ Gift Mug, Don't Worry I Got This I Watched A YouTube Video, By [NAME], Gift For Men, Gift For Dad](https://i.etsystatic.com/39088648/c/2982/2368/0/27/il/cf62b0/5272771721/il_170x135.5272771721_pz0h.jpg)

![Personalized Science Apron, [NAME] Uses [Pronoun] Smoker Periodically, Science Gift For Teachers, Gift For Dad](https://i.etsystatic.com/39088648/c/2982/2368/0/9/il/6bf723/5272542103/il_170x135.5272542103_18nf.jpg)
